Getting Started
Programmatically issue and update mobile wallet passes
We're thrilled to have you start using the Badge API! Follow these simple steps to get started.
Step 1: Log In to Your Badge Workspace
The Workspace is the user interface for managing all things Badge. If you don't have a Workspace or are not sure if you have access, contact your Account Manager to receive an email invite.
Step 2: Set Up Your API Key
Once you're logged in to a Workspace
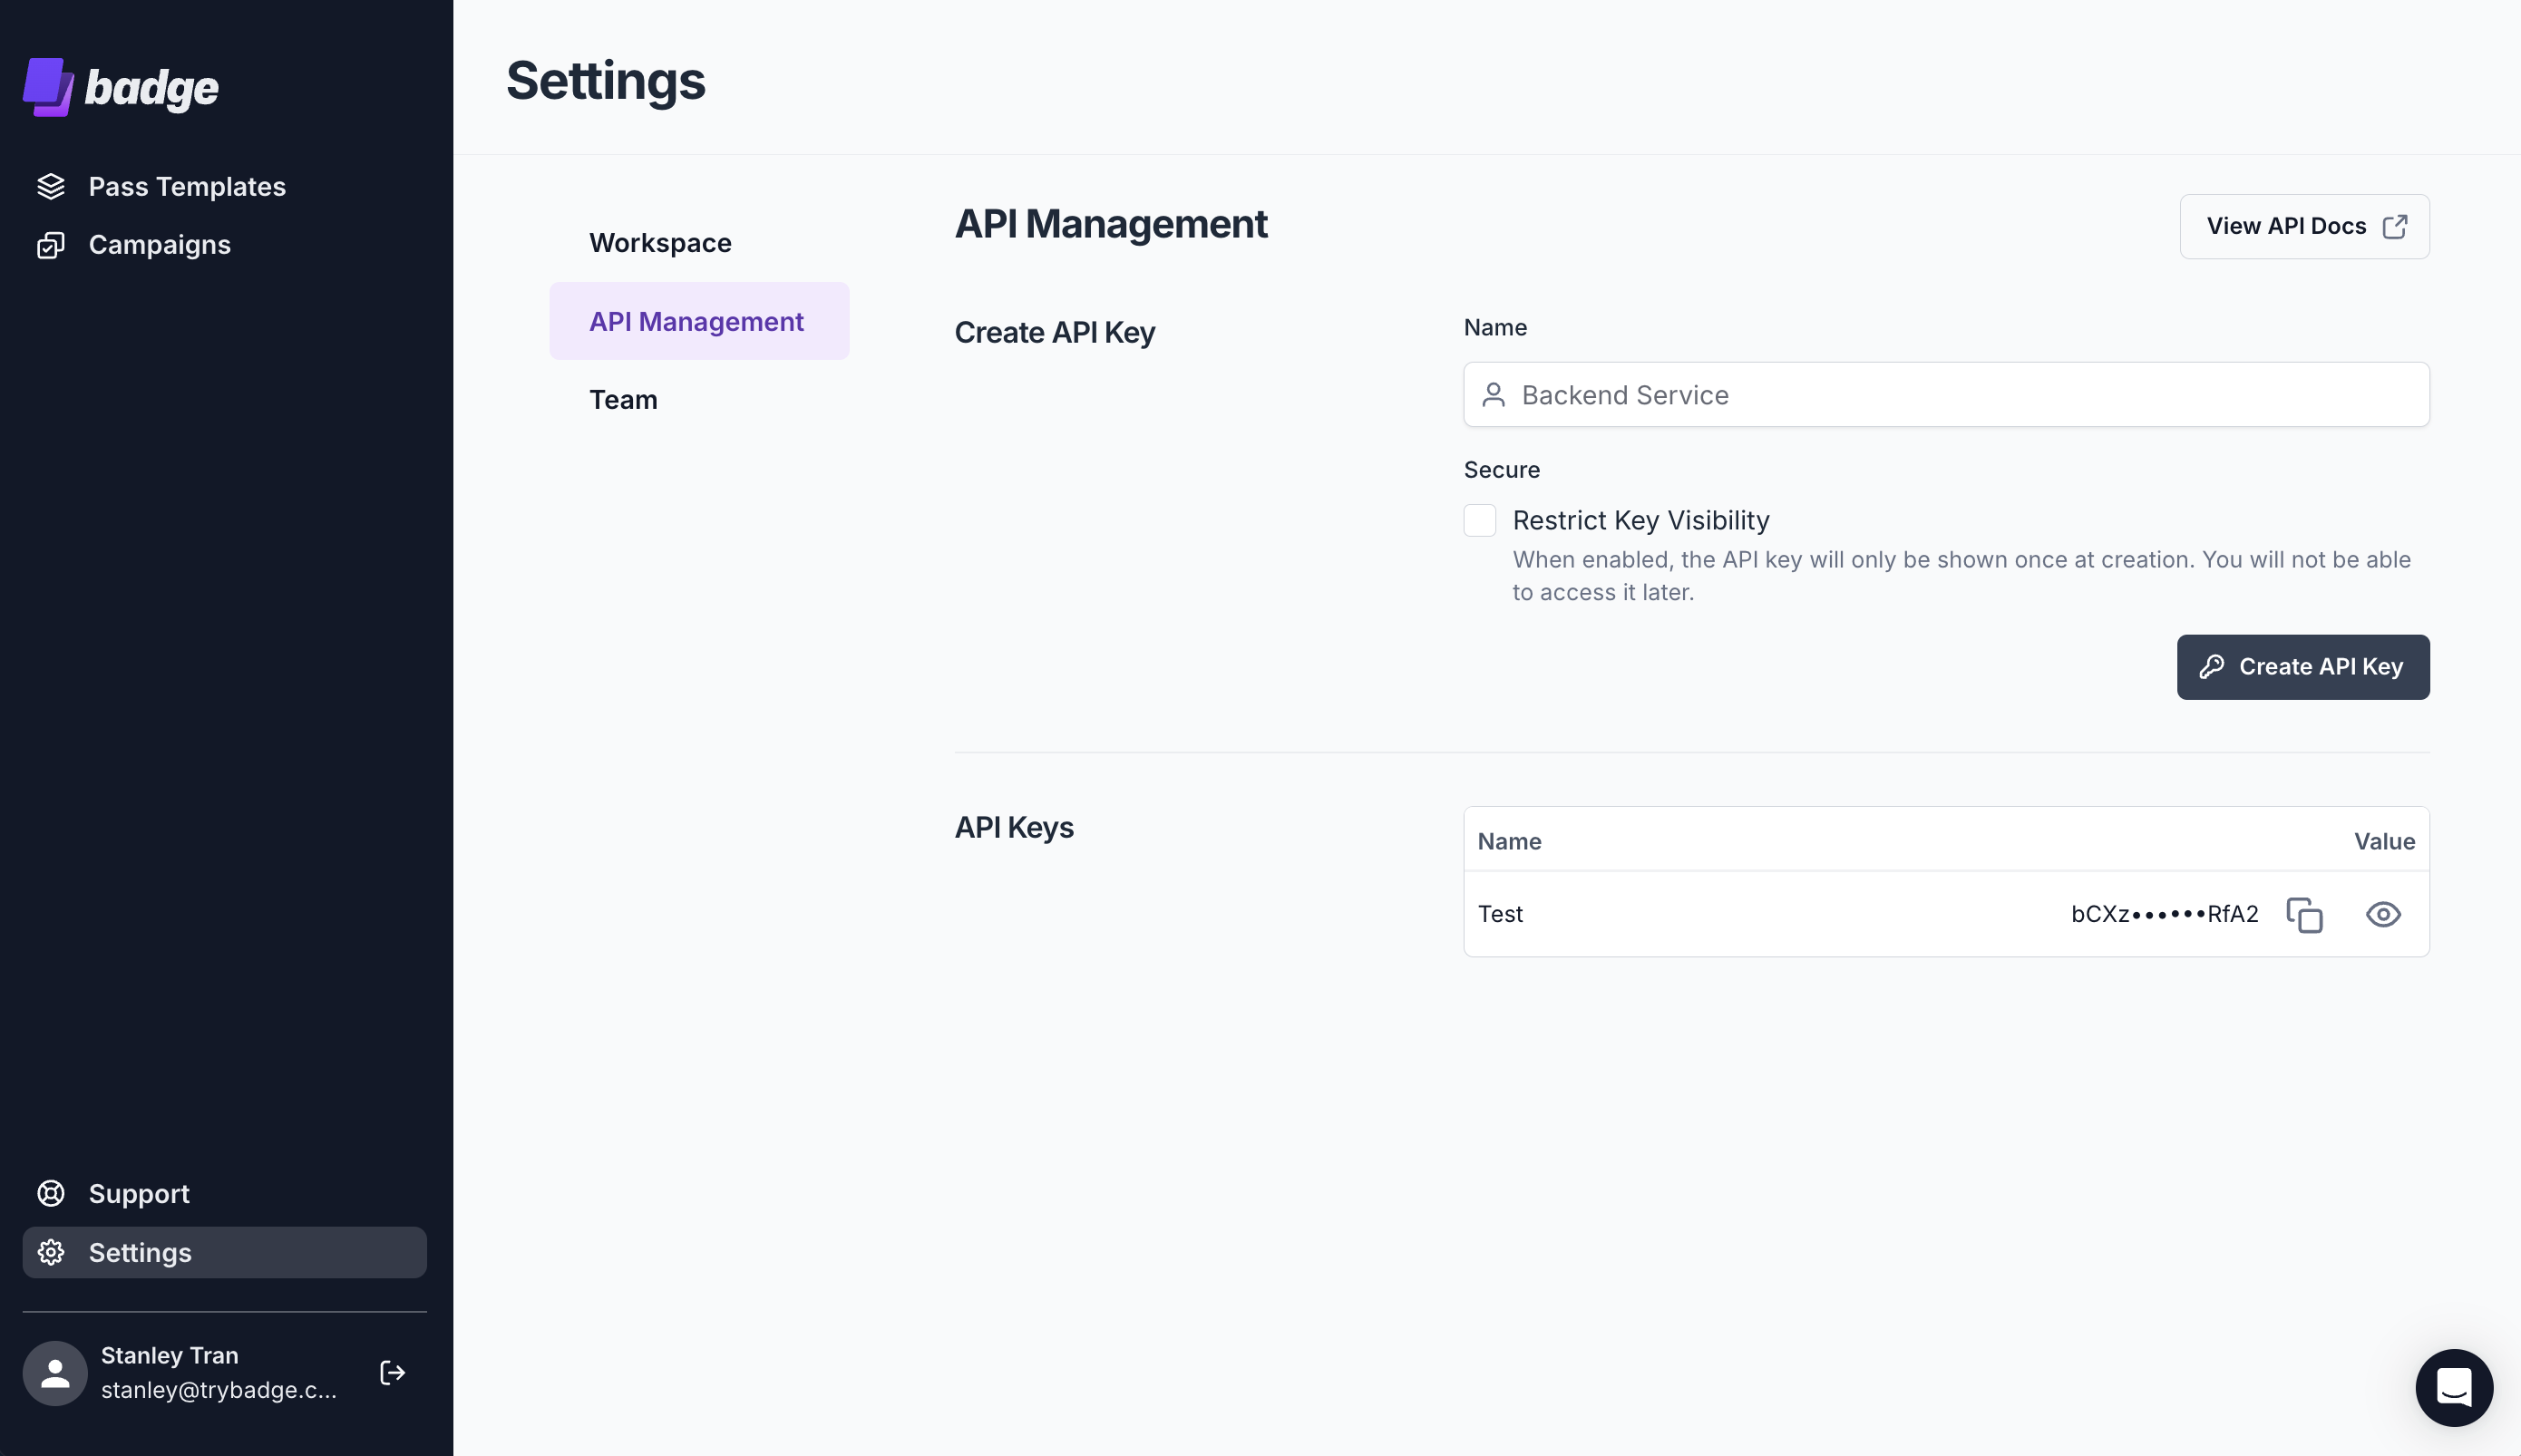
- Navigate to Settings > API Management.
- Click Create API Key — this key can be used with Bearer authentication.

Step 3: Create a Pass Template
Apple Pass Type Identifier RequiredBefore you create a template you must first configure an Apple Pass Identifier, there are two ways to create this:
A Pass Template is a boilerplate design for passes. Passes that are issued under a specific Pass Template will inherit its type (e.g., Membership/Loyalty, Gift Card, Event Ticket) and general layout.
You have two options for creating a Pass Template:
- Manually Create a Pass Template: You can do this directly within your Workspace.
- You can also add Custom Attributes wherever you see a lightning bolt icon ⚡. Values that get shown to passholders in these fields can be set and updated using the API.
- Programmatically Create a Pass Template: Use our API endpoints for Pass Template creation and updating:
Custom Attributes allow you to vary each pass by having the values shown be dynamic for each pass. Custom Attributes on a Pass Template have support for attributes from two entities, Pass and User. These attributes can be set in the UI or API when creating passes. User Attributes are shared between all passes that are assigned to a user. Pass Attributes are only used for a specific pass.
Step 4: Issue and Update Passes
Use the userPassUpsert API endpoint to issue and update passes based on the Pass Template you’ve created. The unique Pass Download Link included in the response can be shared with your user to install the pass. The Pass Download Link adapts to the user's device type and installs an Apple Wallet or Google Wallet pass accordingly.
To update user attributes in your template, ensure they are passed within the User data. Pass-specific attributes come into play when managing multiple passes per user (e.g., ticket numbers, expiration dates).
Here’s an example combining both User and Pass attributes:
POST api.trybadge.com/v0/rpc/userPassUpsert HTTP/1.1
Accept: application/json
Authorization: Bearer API_KEY
Content-Type: application/json

{
  "passTemplateId":"a84f890a-2478-925f-38ba-673e833e526c"
  "user":{
    "id":"66565",
    "attributes":{
      "memberBalance":"1000"
    },
    "email":"[email protected]"
  },
  "pass":{
    "id":"88787"
    "attributes":{
      "ticketNumber":"ABC123",
      "ticketExpiration":"New Value"
    }
  }
}
pass can be omitted if you are only creating one pass per user and do not want to use pass attributes.
HTTP/1.1 200 OK
Content-Type: application/json

{
  "pass": {
    "downloadUrl": "https://example.com/download?id=123&token=123"
  }
}
The returned pass.downloadUrl can be used to distribute passes.
Step 5: Send Campaigns
When users have installed your passes, they become passholders who can receive campaigns from you.
Use the passSendPushNotification API to programmatically send push notifications to specific passes. Targeting logic, such as determining which passes should receive notifications, is typically managed on your side. Ensure you track the passId that you set for each pass when creating them via the userPassUpsert API, as this identifier will be needed to send notifications to the correct passholders.
Updated 12 months ago